Set up MicCarry
Each step below names the exact state you should see on screen, so you always know it's working — and notice immediately if it isn't.
Designed for first audio in under five minutesInstall the free Mac companion
Get it from the download page and run the signed installer. When it finishes, the MicCarry window is waiting for your phone.
~2 minutes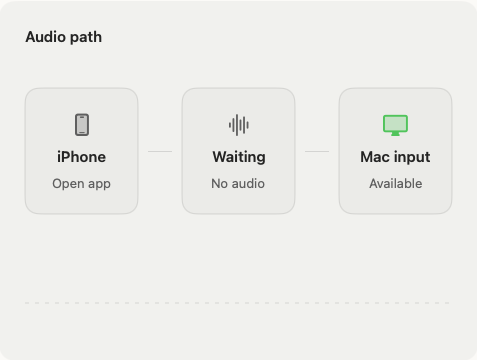
Open MicCarry on your iPhone
The home screen makes one promise and waits for you. Nothing is captured yet.
~10 seconds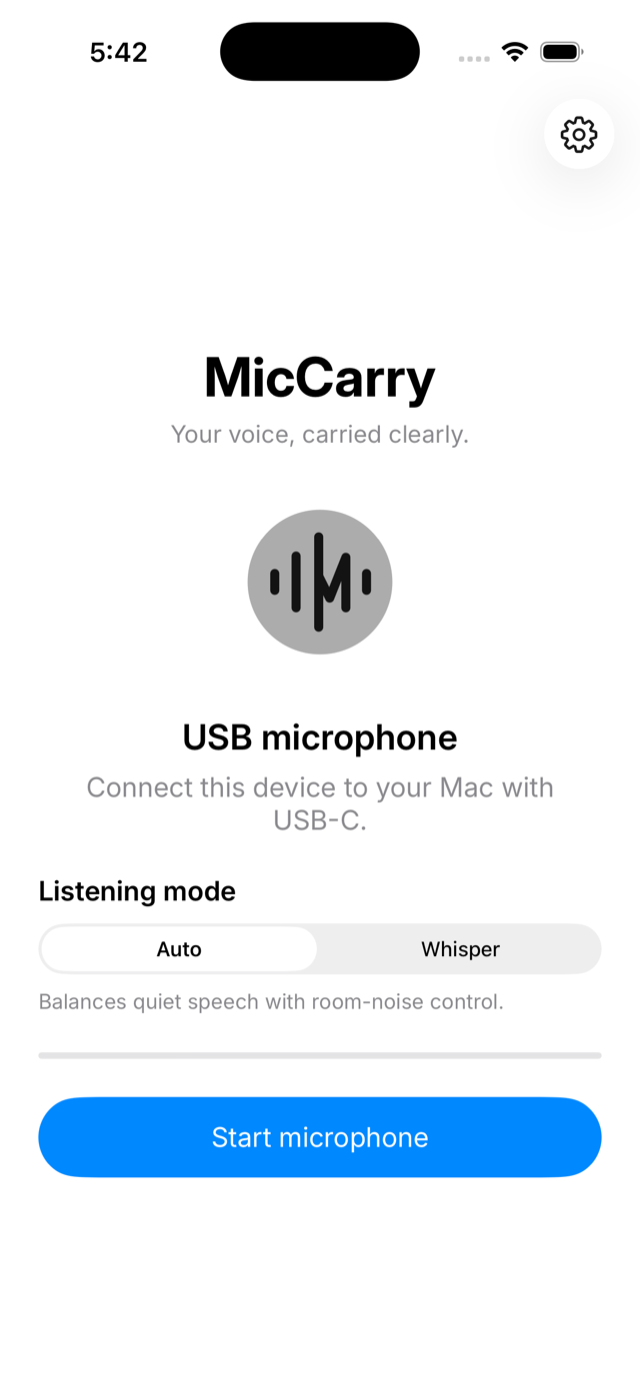
Connect the USB-C cable
Use a data-capable USB-C cable — the one you charge the phone with almost always is. Watch the state change as the devices find each other.
~5 secondsTap Start microphone
The first time, iOS asks for microphone permission — allow it. From then on, capture begins only when you tap Start.
~15 seconds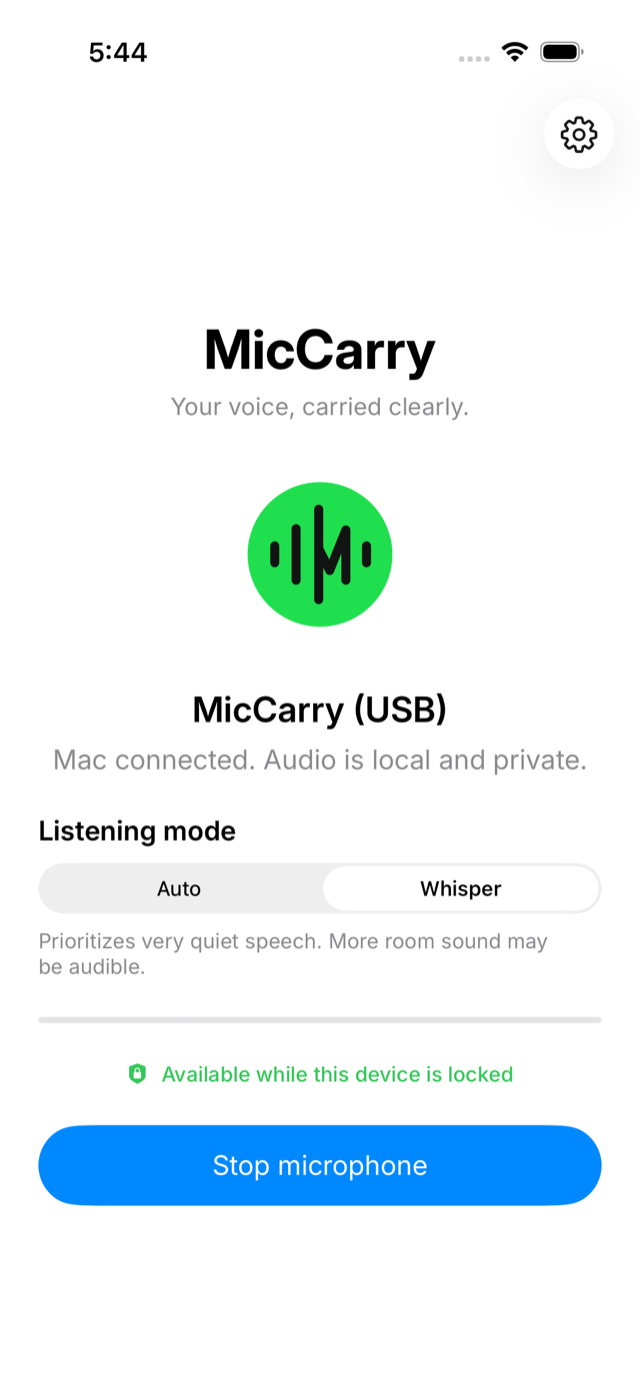
Pick "MicCarry Microphone" on the Mac
Choose it inside any app's microphone picker, or set it once in System Settings → Sound → Input. It's a normal system input, so every app can use it.
~20 secondsLock the phone and keep talking
The session you started keeps running behind the lock screen. Tap Stop microphone when you're done — the session ends immediately.
ongoingListening modes
Two modes, one switch, no menus to tune:
Auto
"Balances quiet speech with room-noise control." The right default for meetings and dictation.
Whisper
"Prioritizes very quiet speech. More room sound may be audible." For late-night dictation and shared spaces.
If something looks wrong
"MicCarry Microphone" isn't listed on the Mac
Open the Mac companion and follow its status. If it offers "Repair registration", click it, then check your app's microphone picker again. Still stuck? →
The app says "Microphone paused"
Another audio session on the iPhone took the microphone — end the call or recording, and MicCarry resumes. Still stuck? →
No audio arrives
Reseat the cable and watch the iPhone state: it should read "Ready" before you start. Charge-only cables can't carry audio — try the cable that came with the phone. Still stuck? →